
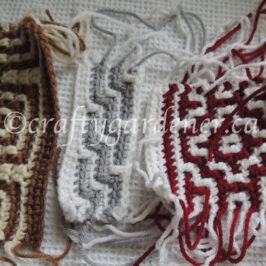
I’ve been making some crochet covered coat hangers for a birthday gift. No rush, so slow crochet of one section each night. My version of slow stitching.
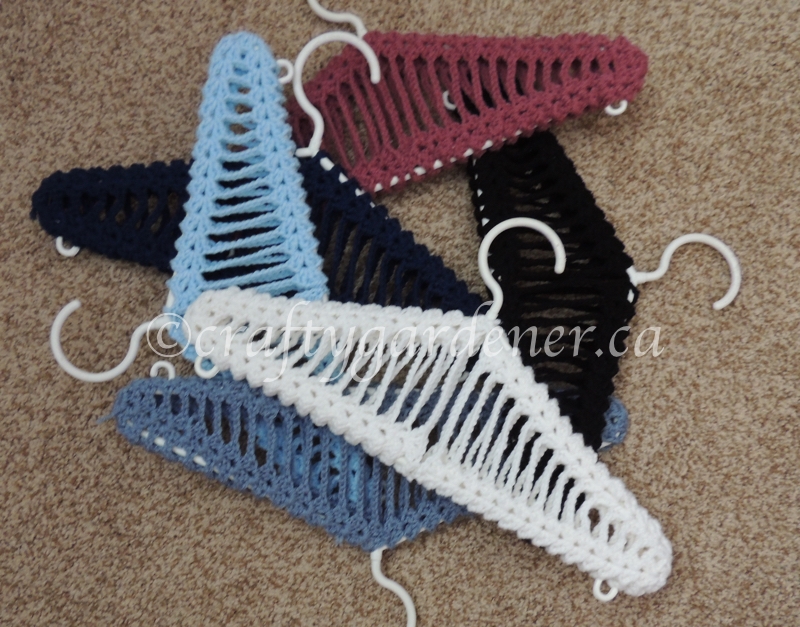
The original post is here if you want to look back. This pattern was originally shared with me by a lovely lady at a flea market. Readers of my website also told me where to find the original pattern, which unfortunately is now out of print.
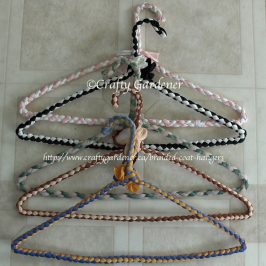
The crochet allowed the small hooks on the bottom of the hangers to poke though so they are still usable.
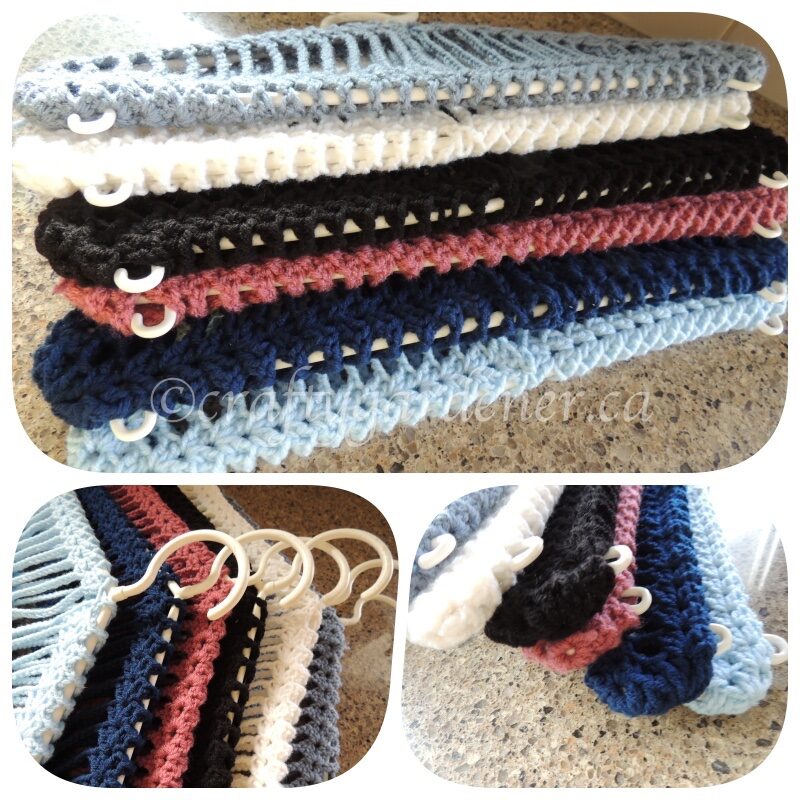
I wrote up my own version of the pattern and updated a bit.
Materials:
- 4 ply worsted weight yarn
- 3.75 mm. or 4 mm crochet hook, or hook size to produce desired size
- standard plastic hanger
- tapestry needle
- scissors
Please share the link so others may visit instead of posting the pattern. I used to offer a print pdf version of this pattern but it was abused and shared on other sites as their own.
Abbreviations
- space = sp
- chain = ch
- slip stitch = sl st
- double crochet = dc
- shell = sh
- shell stitch = sh = work 2 dcs, ch 1, 2 dc all in same space
- beginning shell = beg sh = ch 3, 1 dc, ch 1, 2 dc all in same space
Directions
- Chain (ch) 5, slip stitch (sl st) in first chain (ch) to form a ring.
- ~
- Round 1 – Chain 3, (counts as first double crochet (dc) in shell here and throughout) 1 dc in ring, ch 1, (work 2 dc in ring, ch 1,) 3 times, join with slip stitch in top of beginning ch 3. You now have 8 dc and 4 ch spaces
- ~
- Round 2 – sl st to ch 1 sp beginning shell #1, shell #2 in next ch 1 sp, shell #3 in next ch 1 s, shell #4 in next ch 1 s, join with sl st to beg sh, you now have 4 shells and will continue to have 4 shells till the end of the pattern
- ~
- Round 3: sl st to ch 1 sp beginning shell #1, ch 2, shell #2 in next ch 1 space, ch 1, shell #3 in next ch 1 space, ch 2, shell #4 in next ch 1 space, ch 1, join with sl st to beg shell
- ~
- Round 4: sl st to ch 1 sp beginning shell #1, ch 3, shell #2 in next ch 1 space, ch 1, shell #3 in next ch 1 space, ch 3, shell #4 in next ch 1 space, ch 1, join with sl st to beg shell
- ~
- Round 5: sl st to ch 1 sp beginning shell #1, ch 4 , shell #2 in next ch 1 space, ch 1, shell #3 in next ch 1 space, ch 4, shell #4 in next ch 1 space, ch 1, join with sl st to beg shell
- ~
- Rounds 6 to 14 – keep repeating round 5 adding one more stitch (number in bold) between shell #1 and shell #2 and the shell #3 and shell #4, to a total of 12 in the chain
Check to see if this half of the cover fits your hanger as everyone’s tension is different. Some hangers may need more or less than 14 rounds. Adjust to fit your hanger.
Fasten off and weave loose ends. Repeat for second half, slip each half on opposite ends of hangers and stitch together at center of each matching shell.
Or you can make the covers removable by using ribbon on some and velcro on others to make them removable.
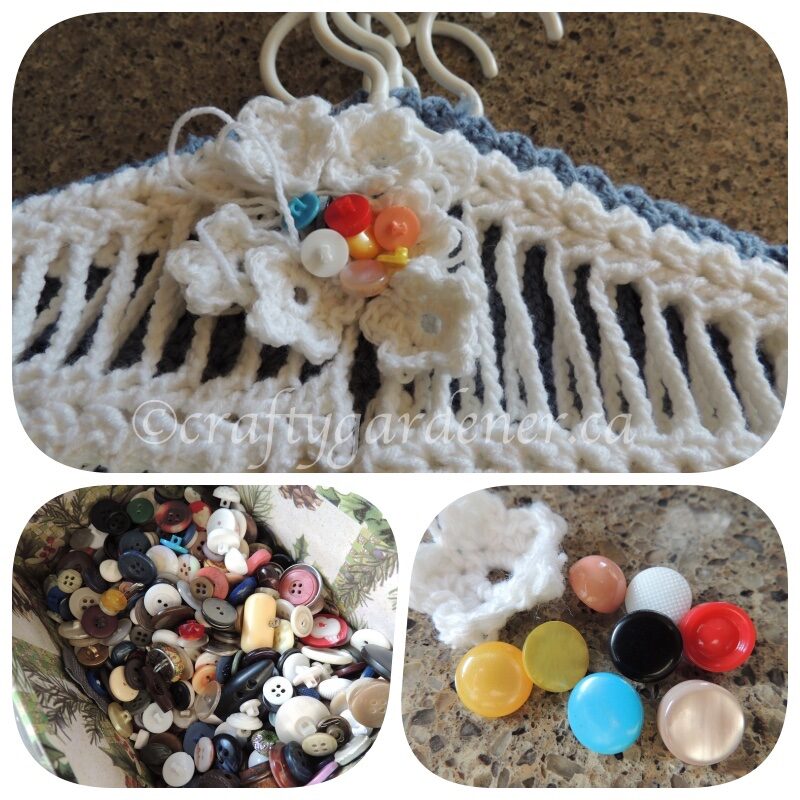
I decided to crochet some small flowers and fasten them on with buttons, just to fancy them up a bit. I love sorting through old buttons as you can remember where some of the buttons came from. Do you have a button stash?
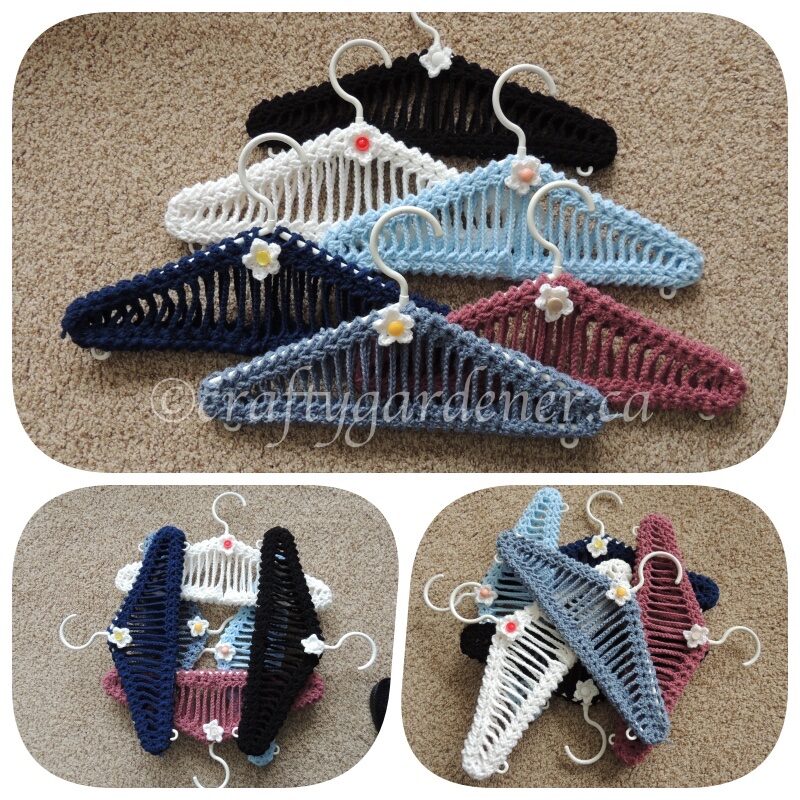
They turned out really well. While checking through all my hangers for a visual to assist me, I realized that all the previous ones I had made had been given away. So my next project is to make some for myself.

Check out the links below to see other versions of covered coat hangers.


Linda
What a lovely gift, they look so pretty. Thank you for sharing the pattern xx