Dendritic painting is a technique I learned at Creative Crafting. This is a simple way to create amazing designs on paper and artist board. Dendrites are actually nerve cells and dendritic painting is creating branch like effects using glass, paint and an artist board.
Supplies: acrylic paint, two small sheets of glass or 2 cds (depending on the method you choose to use, artist board, paper towels, patience
You add paint to glass, press another piece of glass on top and then carefully pull them apart. This creates the branch/tree like effect. You then press the glass onto an artist board or thick paper and once again carefully lift the glass. I used glass from two picture frames from the dollar store.
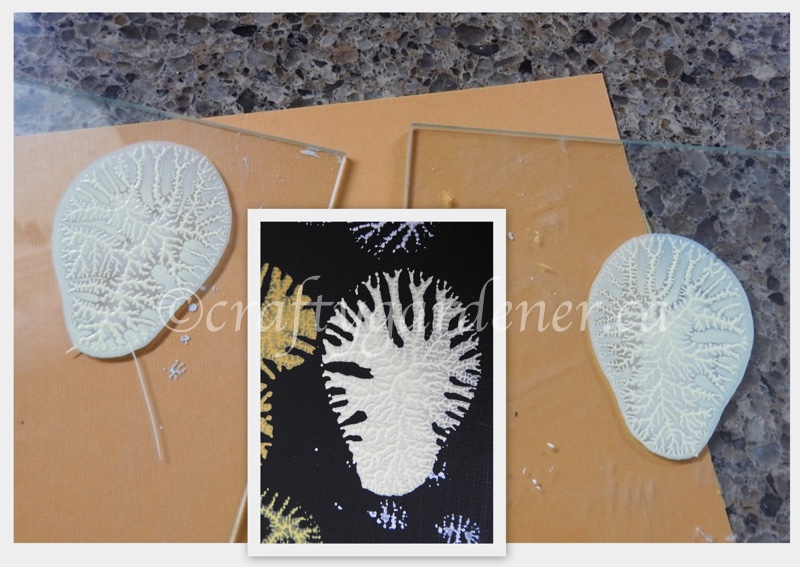
Using just one colour at a time you add a dab of paint. This one was just a roundish shape, but when pressed with the other piece of glass it became more oval. You never know how it will turn out. Have an idea in your mind but be prepared to accept what it turns out like. When the glass is pressed against the artist board, painted with a black background, it made a very interesting shape. The branch like effect really shows up. Be sure to paint the board black and let it dry. Let each dendritic shape dry before adding another one. You can press both sides of the glass and they will be slightly different, one being the negative and the other the positive side of the shape. After you have pressed it you simply wipe off the glass with a paper towel, dry it, and get ready to try another shape.
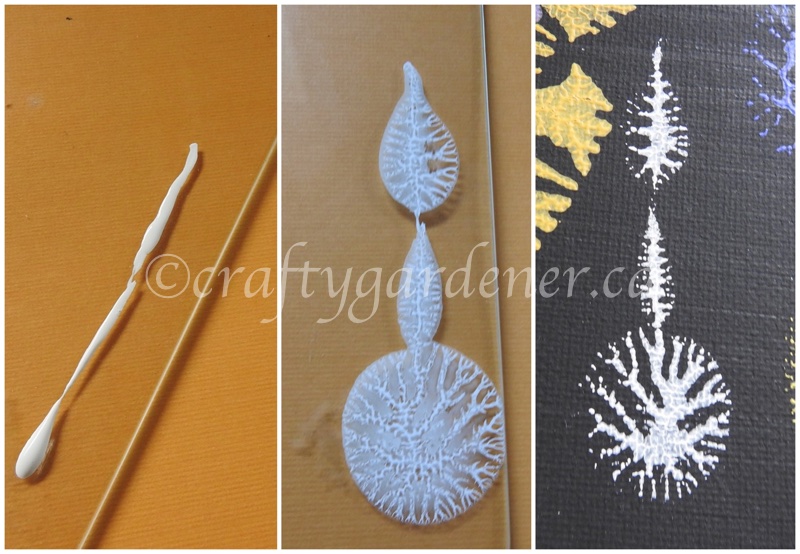
The next one I tried was a line on the glass in various thickness and little spaces. The centre image show how it looks after being pressed on the other glass and the third image shows it pressed on the artist board. The possibilities are endless.
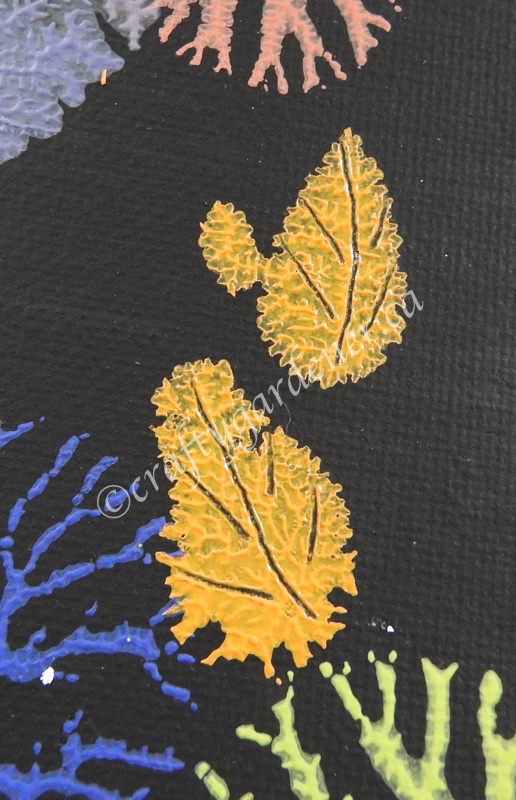
In this shape I used a toothpick, or sharp object, to add the veins of a leaf.
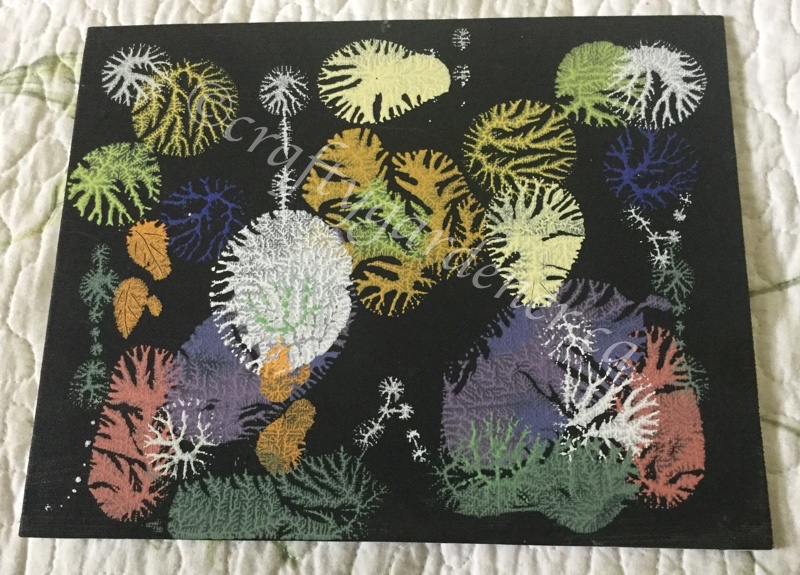
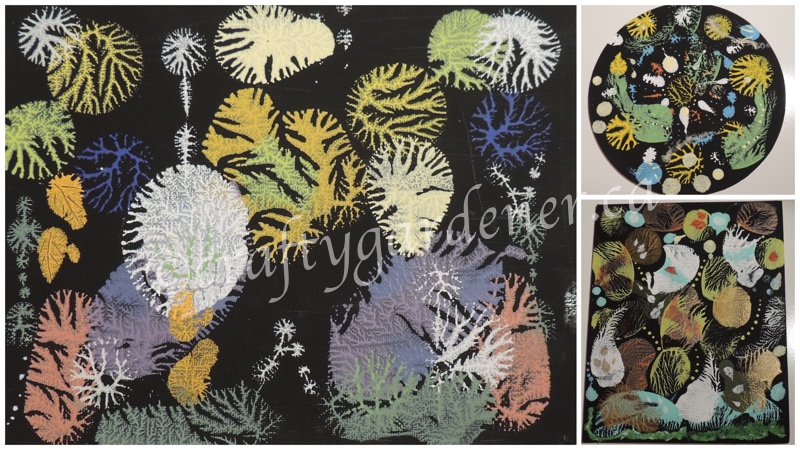
Do several different paint blobs in various colours and add them all over your board. This is an unfinished project as I want to add some more things to it.
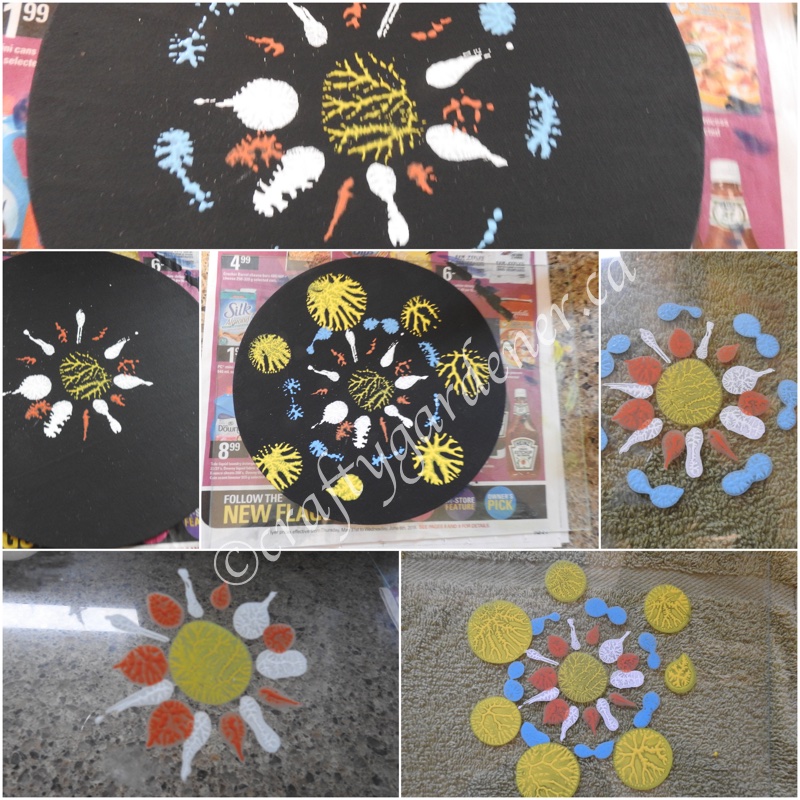
I used a round artist board for this dendritic painting. I started with the yellow blob in the centre. Instead of cleaning the glass each time I let it dry and left it on and then added the next layer of white, and repeated with orange, blue and yellow again. I was trying to get a round pattern on the artist board. It wasn’t till I had all the parts onto the board that I cleaned the glass. Once again, this is a work in progress and I’m contemplating adding a bit more. I did try a dark blue background the first time around but wasn’t really pleased with it so went back to black. The joy of this art is if you really don’t like it you can paint over the top in the solid background colour and start over.
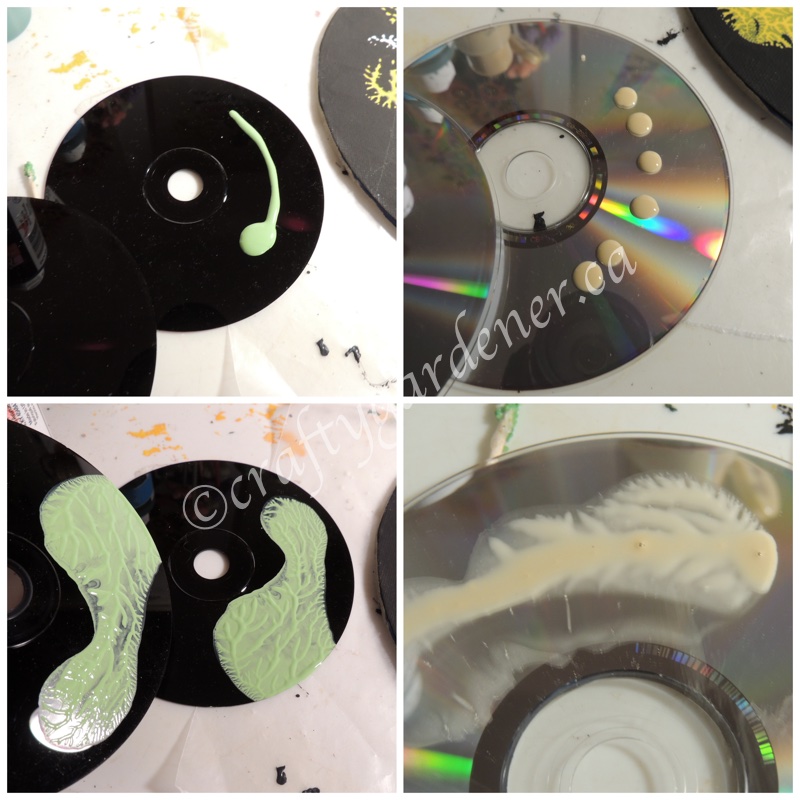
The next time we tried the dendritic painting we used old cds instead of glass. I prefer using them as they are smaller and more flexible. When you press the glass together it really creates a suction and makes it more challenging to get apart. The cds were much easier to use. The technique is the same. Add the paint to one cd, press the other cd on top, and carefully take apart to show the created shape. Then press the cd onto your artist board. A couple of my cds are black as they were originally made to resemble records. The effect is the same as the silver sided cds or dvds
This is the almost finished board using cds to create the shapes. Acrylic paint for the dollar stores works great. You can add one shape and in a few minutes it is dry and you can add another shape on top of or overlapping the original one. Be sure to clean off the cd after each colour with a paper towel. I also use a dotting technique used on the mandala rocks. I added the dots right onto the artist board. Some I left to dry as it and some I pressed the cd on top of them to create small dendritic shapes. You can also use a toothpick to pull through the wet shape for more features.
I suggest experimenting with glass and/or cd and paper to start with. Try out different shapes and quantities of paint and see all the different possibilities. Try thick and thin blobs or lines. Once you feel comfortable you can try two colours (or maybe even more) at the same time. The effects are amazing.
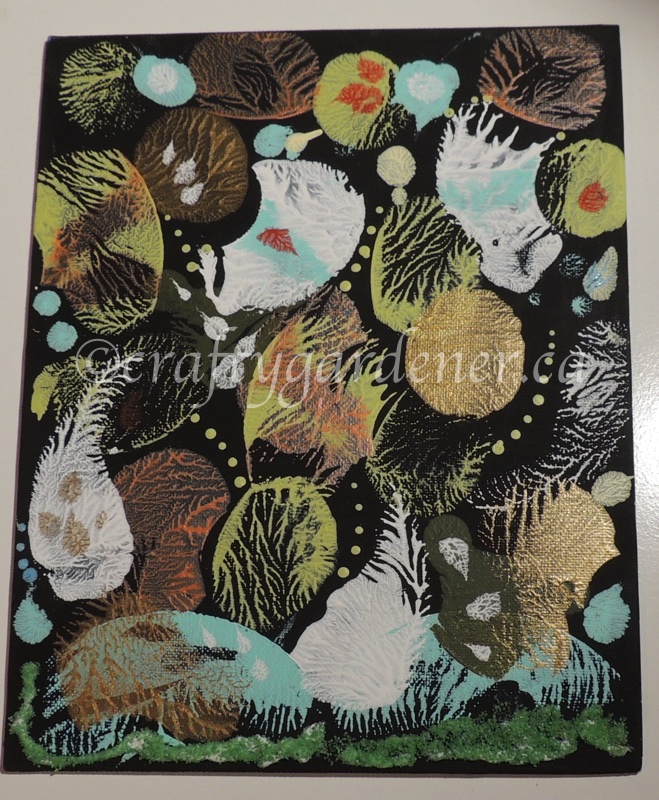
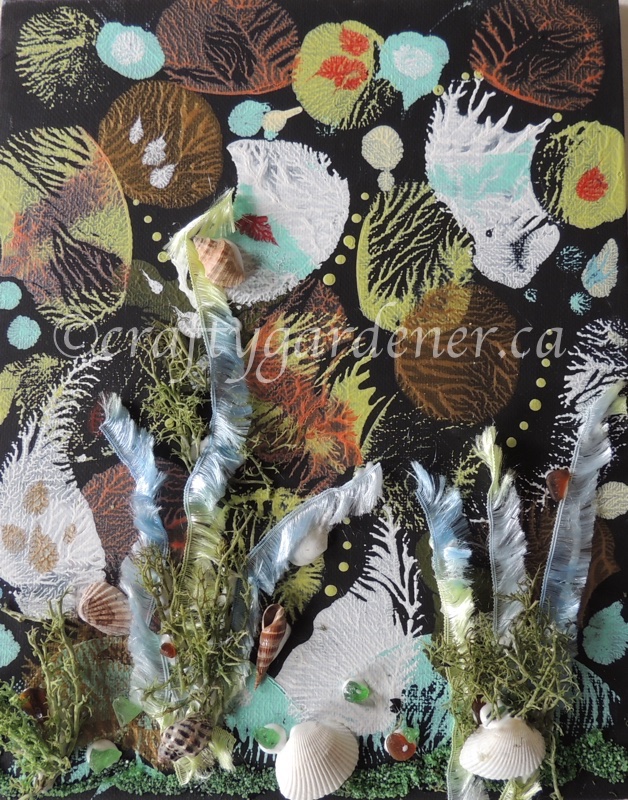
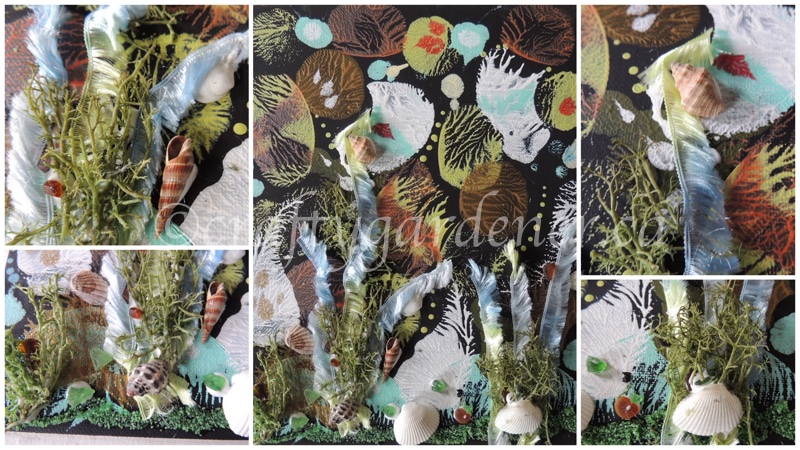
This is the last creation using the cds after it has some embellishment added … sand, shells, yarn, sea glass and moss. Do you think it looks like an underwater scene? The shells and sea glass were collected on our trips to British Columbia. The other bits were from the craft cupboard.
What else could you use dendritic painting on? I’d love to hear your ideas. I’m going to try making note cards with it next. Or how about wrapping paper? or how about decorating a small gift box? You are only limited by your own imagination,
I’m sharing with The Really Crafty Link Party , Handmade Monday and To Grandma’s House We Go

Some projects from the Creative Crafting group – a group of creative people that meet and create all sorts of crafts on Fridays

Teresa
Interesting. I’d never heard of this before, but it does make amazing art pieces.
Thank you for sharing at The Really Crafty Link Party. Pinned.
Jennifer Jilks
That’s looks really fun! What a great idea!
Julie
This is such an interesting technique. I think I’ve seen it on a video on fb a while ago and I remember thinking how much fun it looked. I love your underwater scene.
Jo (A Rose Tinted World)
What a fabulous effect! And love the metallic elements. Simple but so pretty.
S. Meaza
Amazing arts