
The latest project I’m working on is decoupage rocks. I did a lot of rock painting which was lots of fun but I wanted to change it up a little bit. This craft is fantastic for those that say they can’t paint on rocks. All you have to do is paint the whole rock one colour and then add some photos.
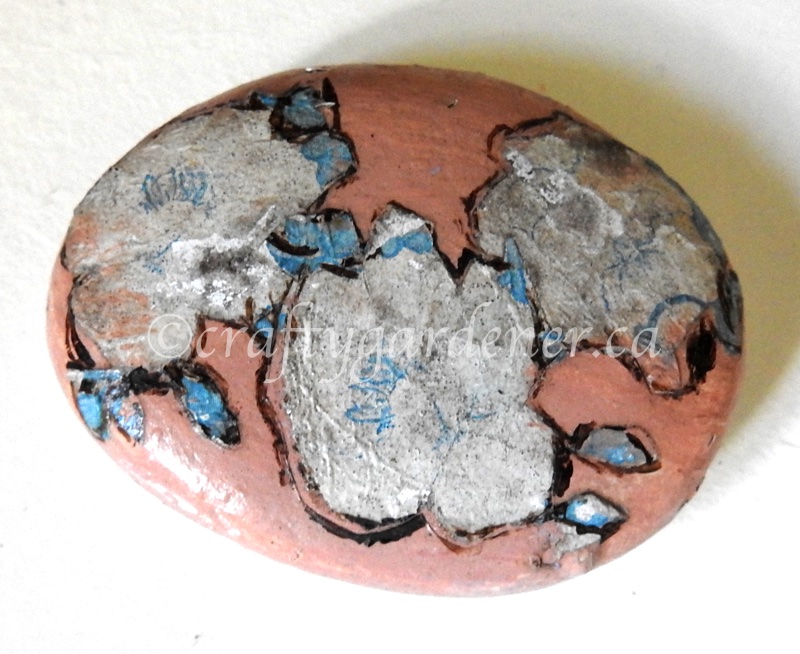
My inspiration for this craft came from my mother in law many years ago when she gave us some rocks she had decoupaged. She was a crafter just like me. Unfortunately after about 35 years the flowers on this rock are starting to wear away. I keep it on my desk and use it as a paper weight.
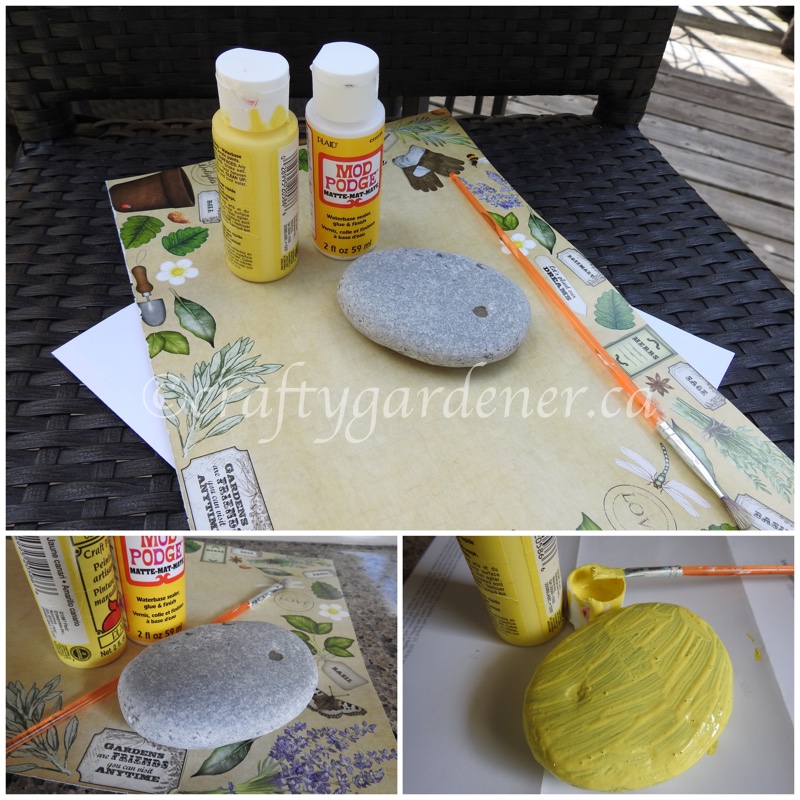
You need flat rocks, paint, mod podge, pictures from magazine or cut out from old cards (not too thick), paint brush and patience. All crafts require patience – to find the right photo and to let things dry before moving on.
Photograph paper is a bit too thick and leaves a raised edge. You could print your photos onto thinner paper and then use them.
I purchase Mod Podge at Dollartree. It comes in matte or gloss finish. I checked prices elsewhere and you can buy 4 containers at Dollartree which gives you the same amount as at the big superstore for half the price.
There are many recipes for making your own mod podge on the internet. If you want to try them out go ahead, but I do prefer to use the actual product. Some homemade products might yellow after awhile and to get the gloss finish the same as the actual product you need to mix in varnish. Not my choice. Mod podge is a water based product and can be partially water resistant. If finished items are to be outside for any length of time I prefer to spray my them after completely dry with a waterproof sealing product.
First you find a photo you want to use (magazine, old card) and carefully cut it out. Choose a complimentary colour and paint both sides of the rock. I like to do both sides just to give it a finished off look. Sometimes you need two coats of paint on the top of the rock. This is where the patience comes into play. Be sure it is totally dry before moving on to the next step.
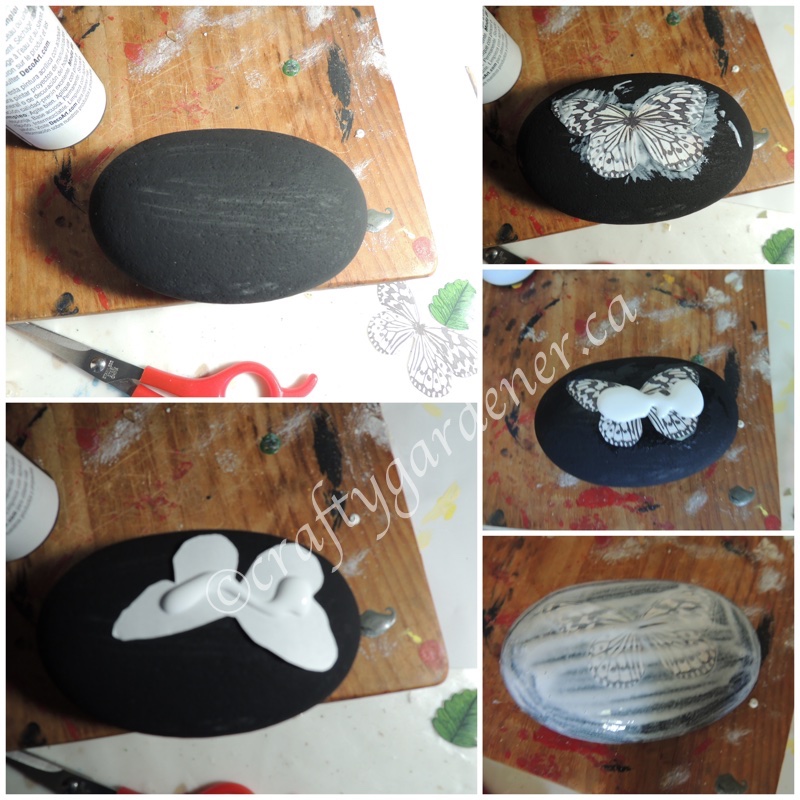
After the paint is dry, add some Mod Podge to the back of your image and spread it around. Then place it on the rock and smooth out any bubbles or wrinkles by using the paint brush. Let it dry. Add more Mod Podge right overtop of the image and spread it all around. Do worry, it will dry clear. let cure overnight and then I added a sealing layer so it would last a long time.
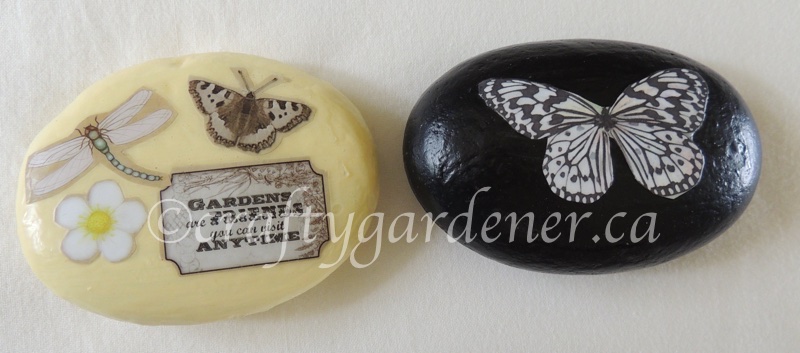
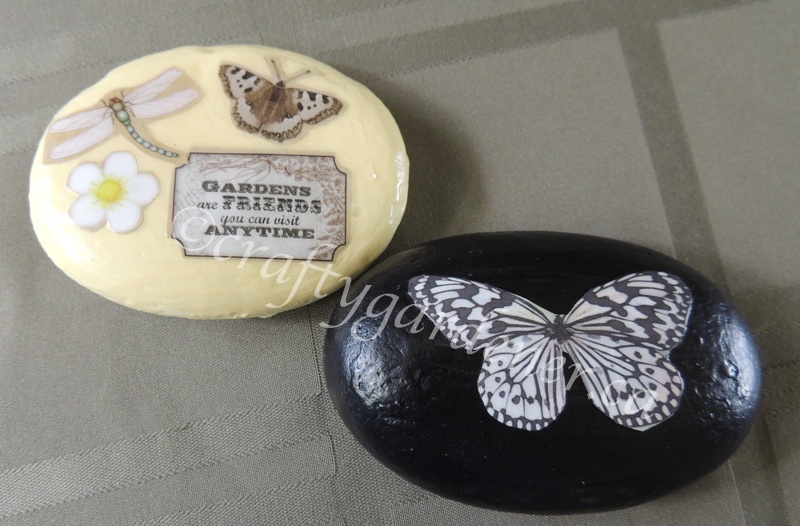
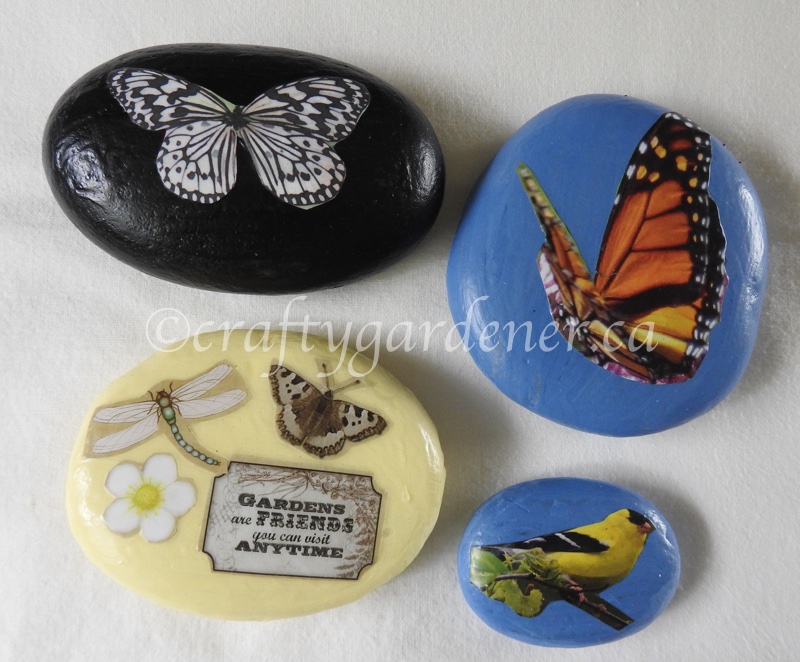
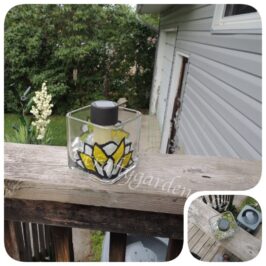
I was working on four rocks at the same time … one with a garden saying, one a simple black and white butterfly, another with a monarch butterfly and a smaller one with a goldfinch. These rocks all fit into the palm of your had but you could do bigger sizes as well. You are only limited by your own imagination.
Decoupaged rocks would make nice little gifts which could be personalized, or would be great to leave in various places for other to find, as I did with my trillium rocks
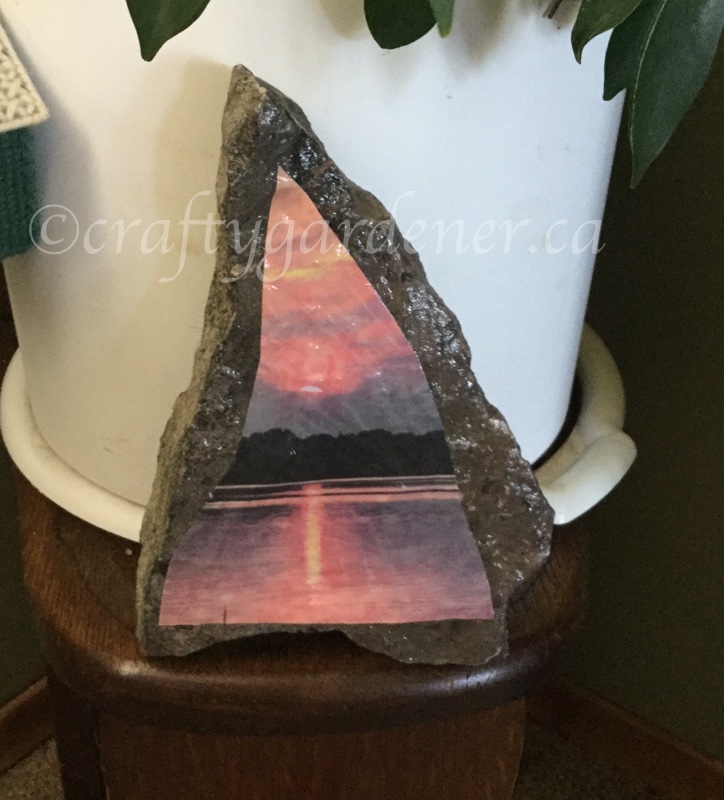
Here is a decoupage sunset rock that I made as a reminder of a lovely time at the cottage.
I hide lots of my rocks. They are for you to keep or rehide. You can always leave a comment telling me where you found the rocks. Thanks in advance. I love knowing if my rocks are found and where they end up.

Nature crafts – using shells, rocks, driftwood, sea glass, pinecones
Be sure to have a look at my rock projects and see all the other types of rocks I’ve painted.


Margie
The rocks look great! I may have try this craft…I wonder if I can use paper napkins with pretty designs?
Crafty Gardener
Napkins would work perfectly Margie, and there are so many pretty ones to choose from.
Mother of 3
What a great idea! My kids would probably enjoy this so much more than trying to paint designs on the rocks. Pinned.
Crafty Gardener
It would be perfect for kids
Lavender Dreamer
How beautiful these all are! I’ve been wanting to paint some to leave at the hiking trail! You’ve inspired me!
Michelle
What a fun idea! I’ve seen people painting on rocks, but my painting skills are non-existent. This offers a way to make beautiful rocks even if you have no painting skills. Well done! Great post!
Coming to you from the Really Crafty Link Party.
Sylvia|Grace for a Gypsy
Oh I love this craft! I paint on rocks but I think this would be a great craft to do with my grandchildren! Beautiful
Catherine Sokolowski
This looks like such a fun project and would and I can think of a few places to display them. Thank you for sharing this idea!
Teresa
So pretty! I love this idea, and I know my kids would love it too.
Thank you for sharing at The Really Crafty link Party. Pinned!
Julie C
These look super and like you say will make great gifts, also it;s something you can make with the grand children too.
Michelle
I am one of this who can’t paint, so this tutorial is definitely for me. Pinning! Thanks for linking up to Creative Compulsions!