I love garden flags and have a few of them in different sizes and locations in the garden. While visiting our family in British Columbia we made our own special garden flag.
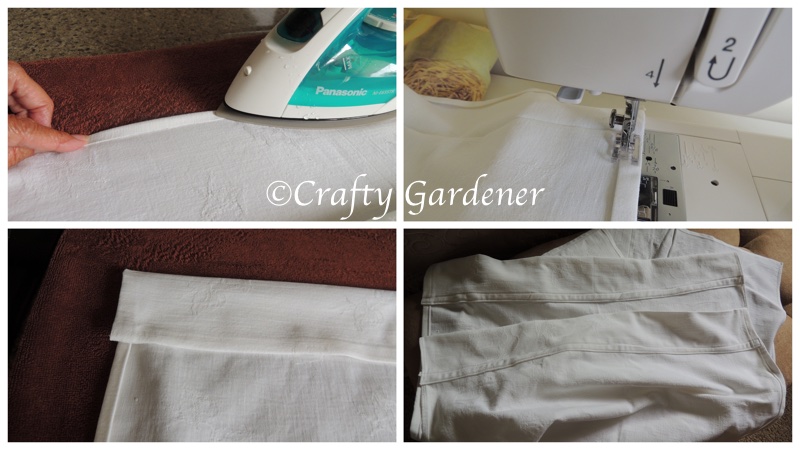
The first thing I did was choose some material. I opted to use an old white tablecloth but you could just as easily buy the fabric needed. It had to be cut and stitched with a pocket at the top to slide onto a pole.
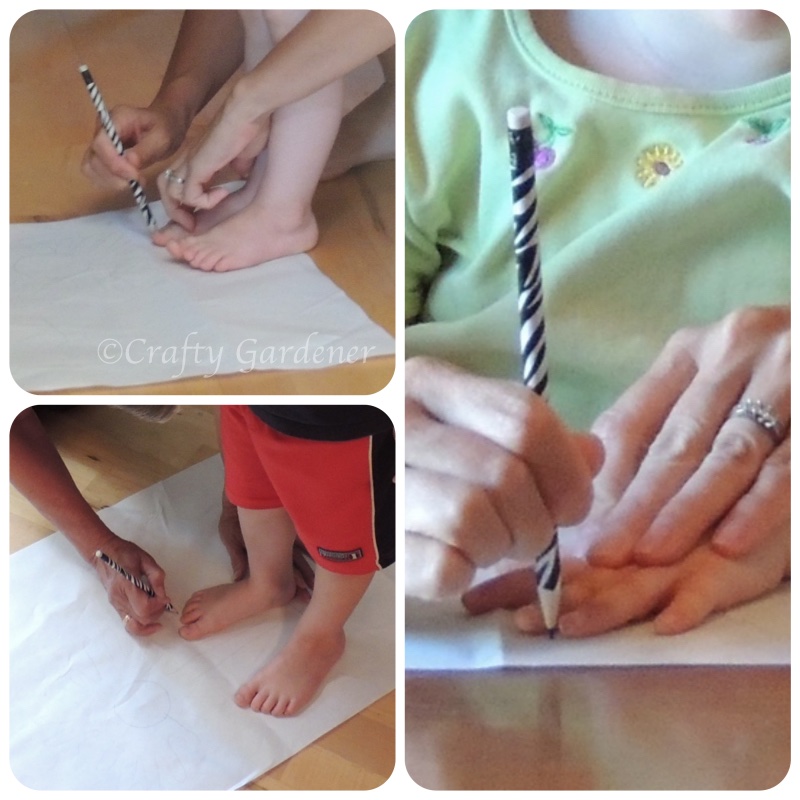
For this project you also need freezer paper. Trace or draw on the dull side and then cut out your pattern. Put the freezer paper waxy side down to the fabric and iron it on. The paper will adhere to the fabric so that you can paint over it. I had decided to use flowers for my garden flag – the petals on the flowers were fingers and hands and the leaves of the flower would be make from the feet.
We traced little feet and hands onto the freezer paper. I had already planned out where the flowers would go.
The tricky part was cutting out the flower shapes to make the stencil. In the photo below you can see the shapes all cut out and the freezer paper ironed onto the fabric. The flowers required little hands to be traced 4 times so there were lots of fingers to form the petals. Then it was time to iron it on and start to paint.
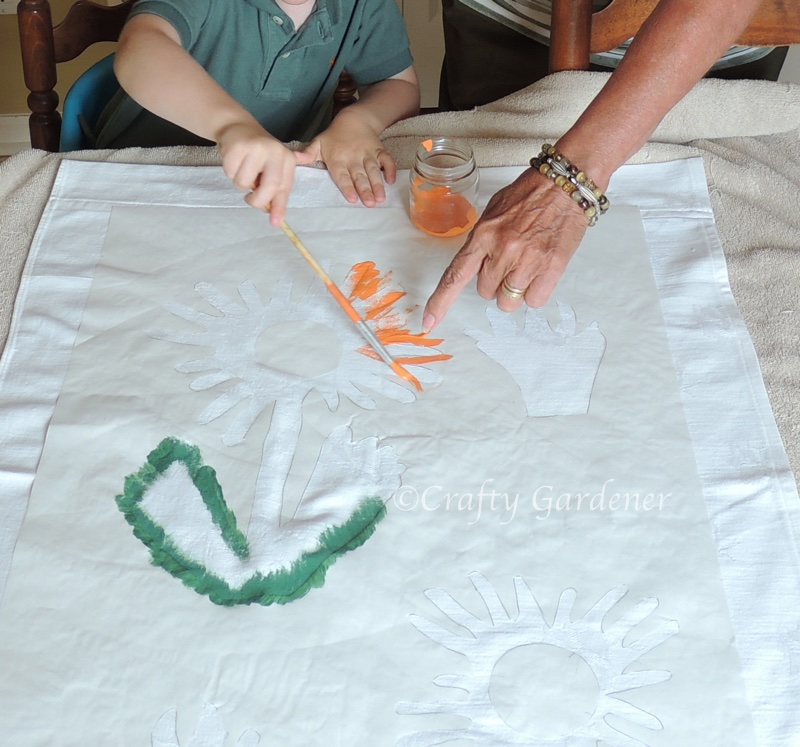
It was recommended to paint the edges first to stop any paint from bleeding under the stencil.

Here are the two garden flags once they were all painted in favourite colours. They were laid to dry in the garage. At this point the freezer paper hasn’t been pulled off. You might notice some green clumps, which will be grasses, and these were made by tracing the dog paws.
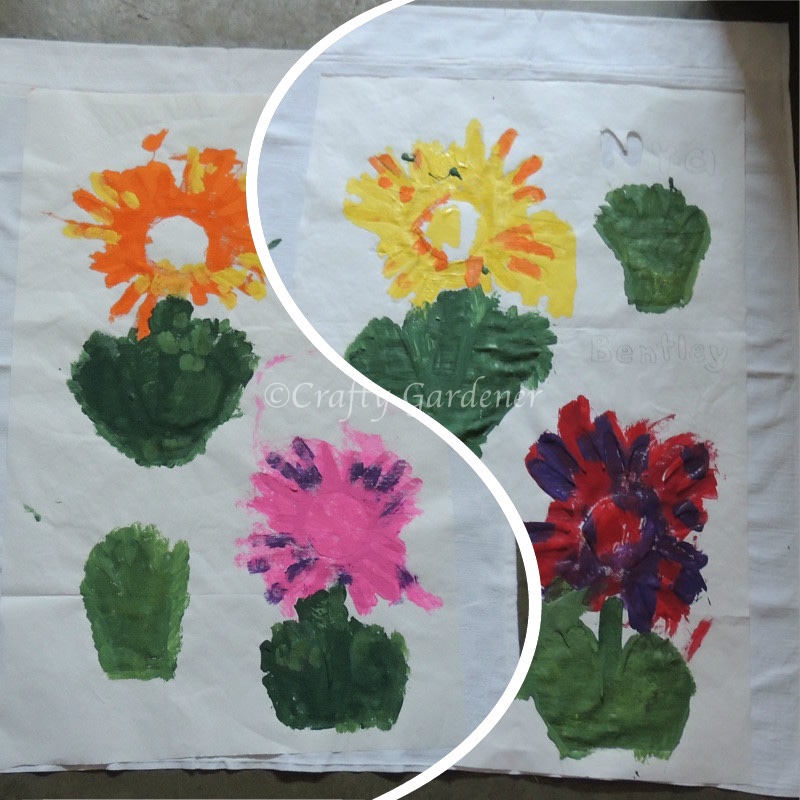
When it was all dry it was time to peel off the freezer paper and reveal the masterpieces.
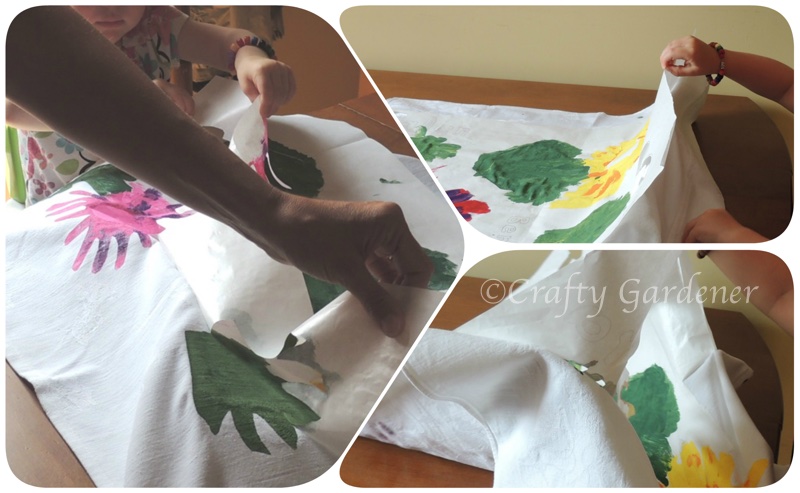
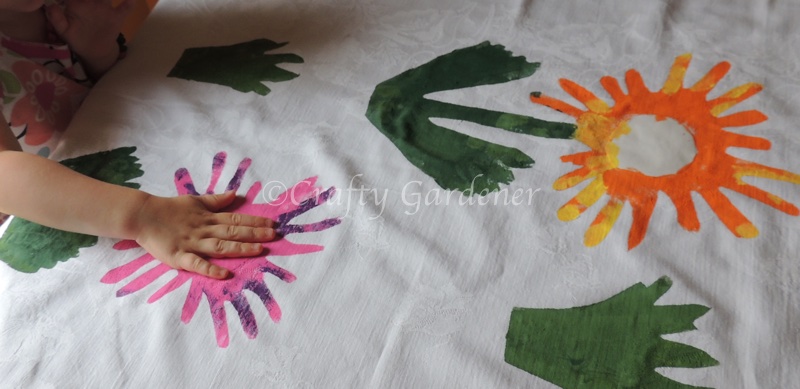
They looked wonderful but someone had to check to see if that was her hand.
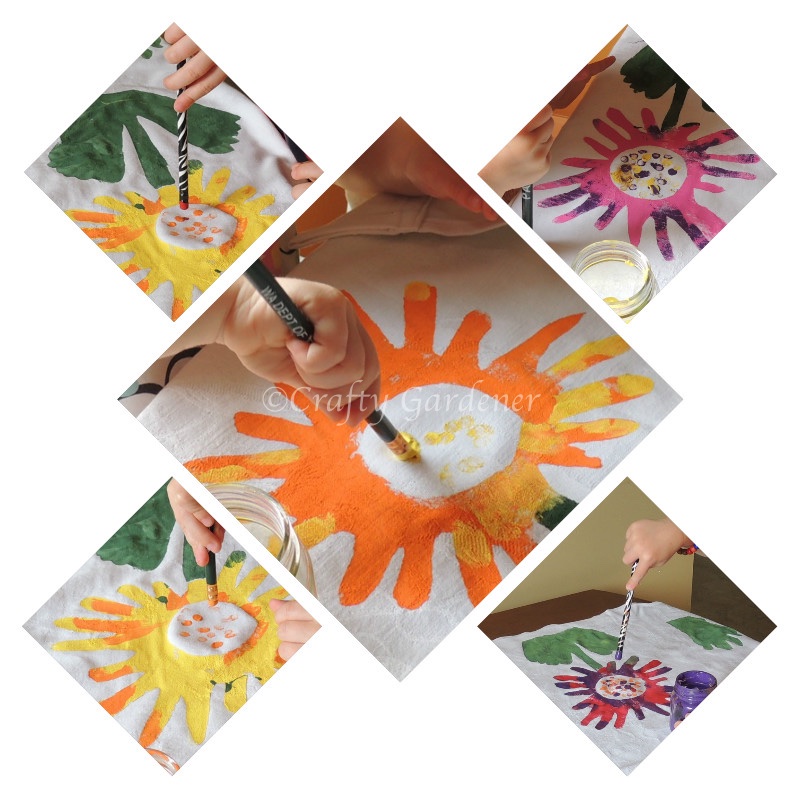
While painting I had also ironed on a round circle in the centre of each flower. When dry it was peeled away and then we filled in the centre using the end of an eraser with lots of coloured dots.
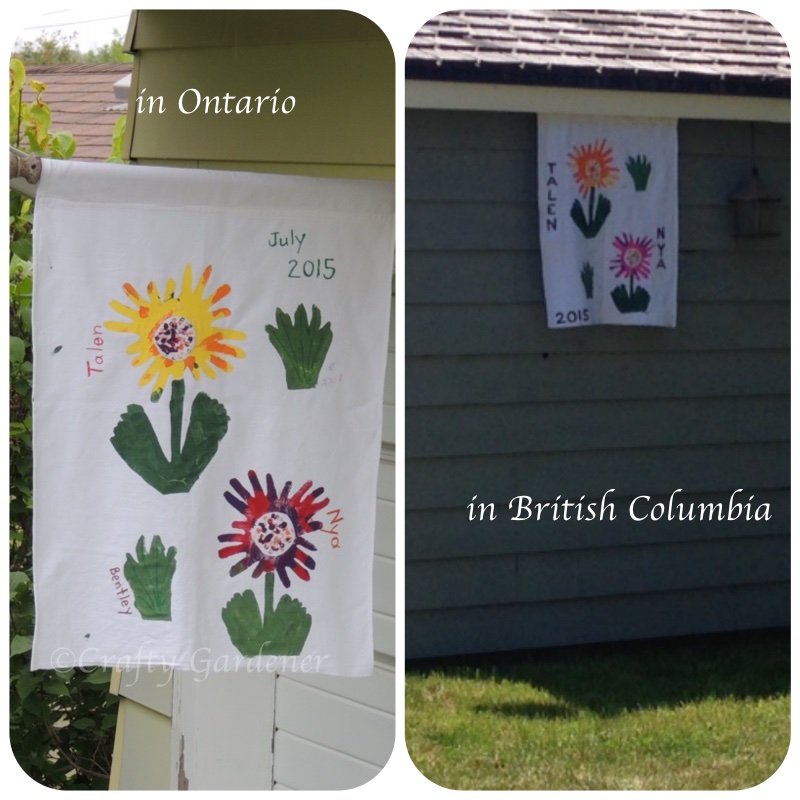
We made two flags – one for their house and one for ours. Here they are hanging in the gardens. We added the names and now have a wonderful reminder of our crafting days together.
I originally got this idea from September Violets, Wendy gave me lots of help and advice with this project. It was so much fun to do. I plan to do it with our older grandkids and let them create their own images and designs.
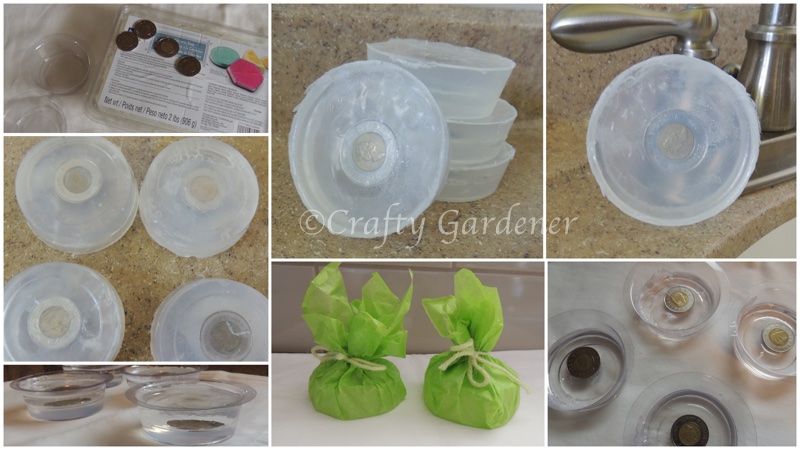
I had also made some soap to take with me because after messy painting projects you need to wash your hands. If you didn’t see how this project was made, be sure to check it out here.
![]()
see more garden whimsy and kids crafts
