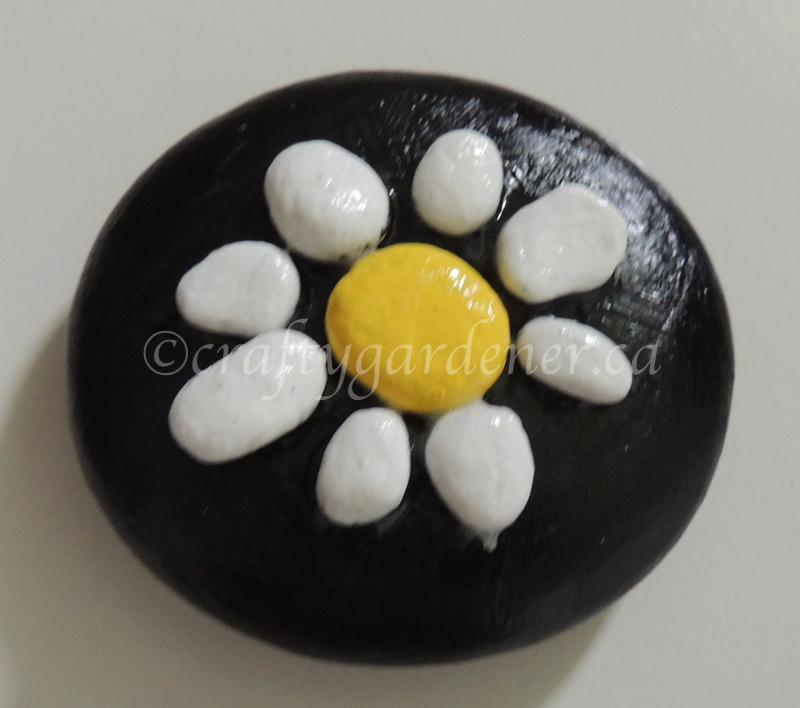
This is a cute and very simple little pebble art daisy that I quickly put together with rocks collected from Wicklow Beach. I enjoyed making it and there are more pebble art rocks in the making.
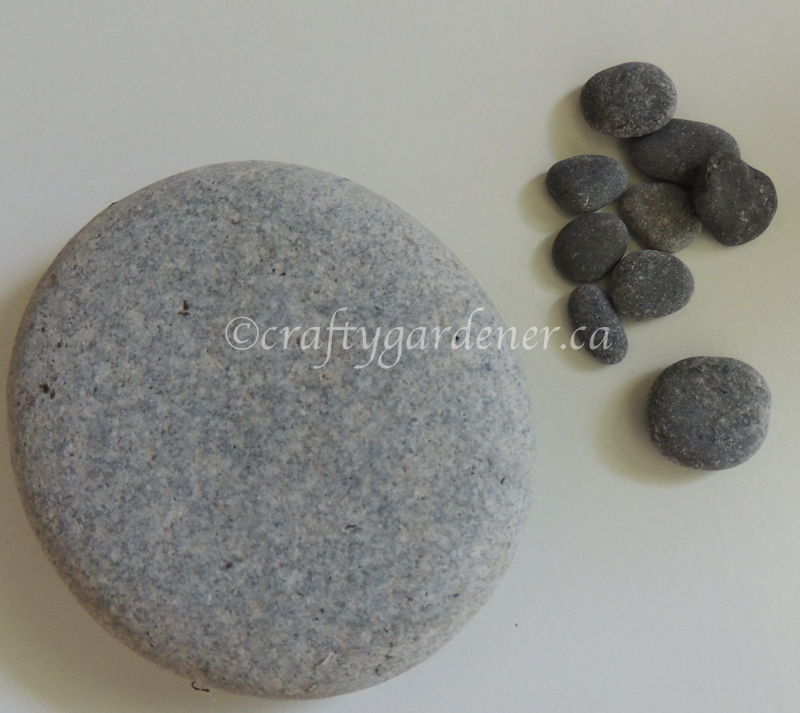
You need a round rock, 1 small rock, and 7 smaller rocks.
I painted both sides of the round rock black. Be sure to let each side dry before turning over.
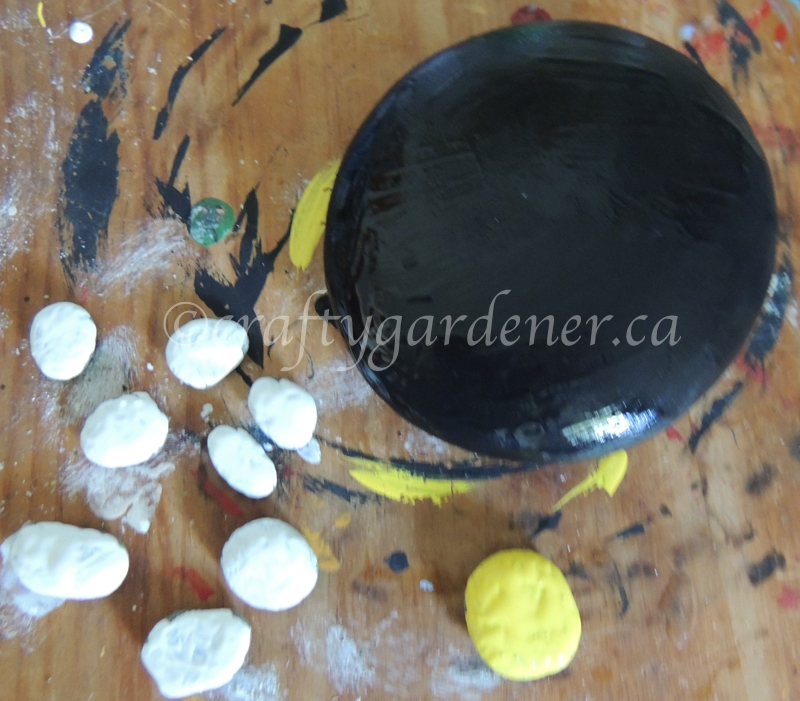
The small rock was painted yellow on both side, and the smaller rocks were painted white on both side. If needed add a second coat.

The smaller rocks were placed to form a daisy in the centre of the big black rock. These were glued on with E6000. Be sure to let dry thoroughly.
Once totally dry I added some info on the back (name or rock sharing group, Facebook symbol, and my name).
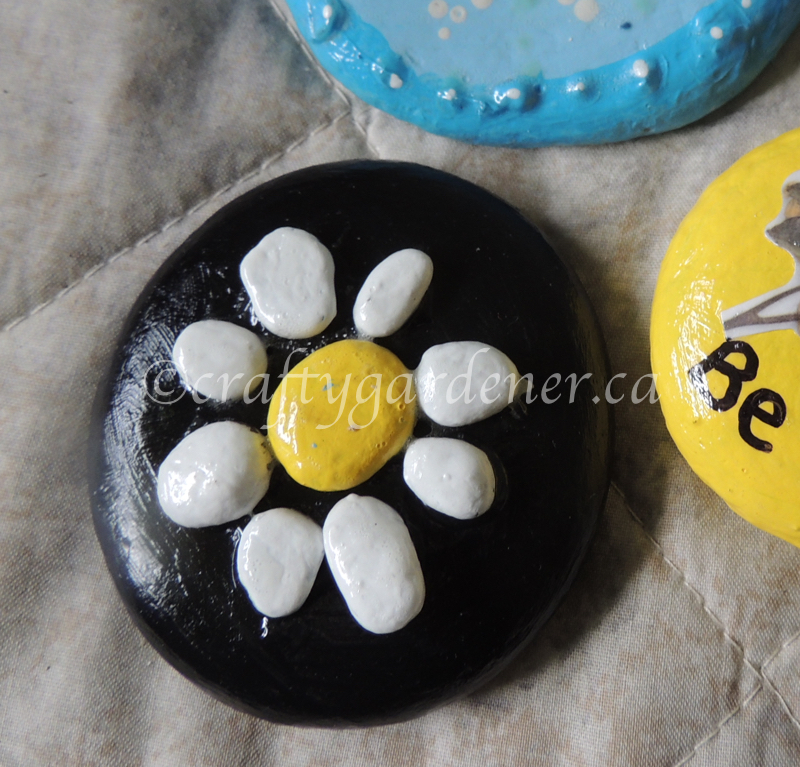
Then a coat of glossy Mod Podge was put over the top. Be sure to get the brush into all the little cracks and crevices. Seal the back of the rock too. Once totally dry on both sides I sprayed them with a fixative so they will be protected from the elements of the weather.
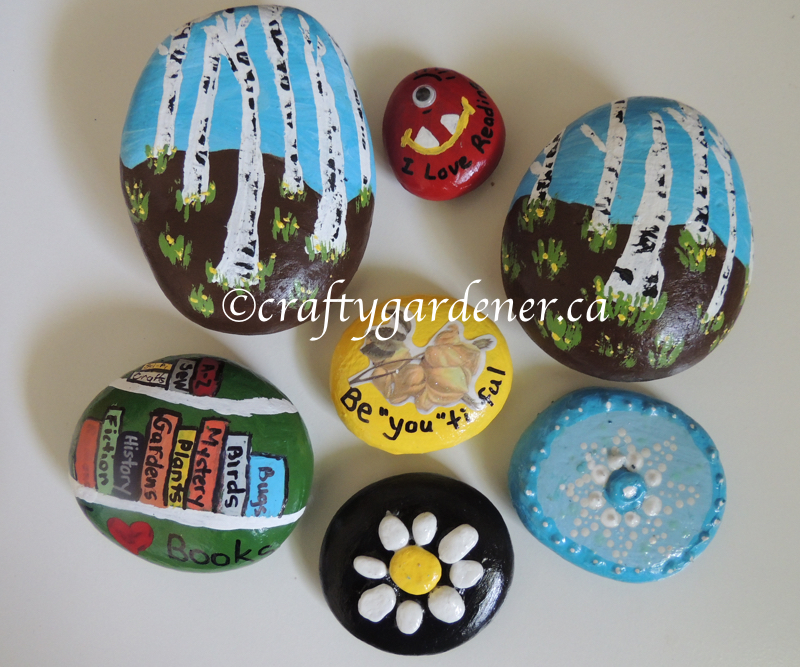
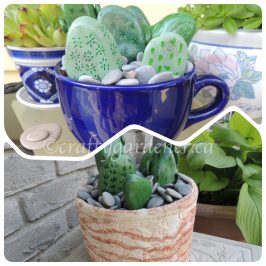
This is a group of rocks I’ve been working on and these will be hidden in various places on our travels.
Be sure to have a look at my rock projects and see all the other types of rocks I’ve painted.

Lots of garden whimsy.

Marilyn
What a fun thing to do, painting the rocks is so creative! Sounds like you are having fun hiding your rocks 🙂
Teresa
I love it. I’ve painted pebbles before (it’s a craft my kids love too) but I never thought about combining different sizes like this before.
Thank you for sharing at The Really Crafty Link Party. Pinned.
Margie
This is so cute!
Julie
I love your painted rocks, this daisy one is so pretty. Great for the more artistically challenged to try as well!
Michelle
Lovely! What a cute daisy rock!
Crafty Gardener
Thank you.