If you go away on short or long trips you need somewhere to store your accessories and with this easy to sew little pouch you can keep all sorts of little things besides jewelry from getting lost.
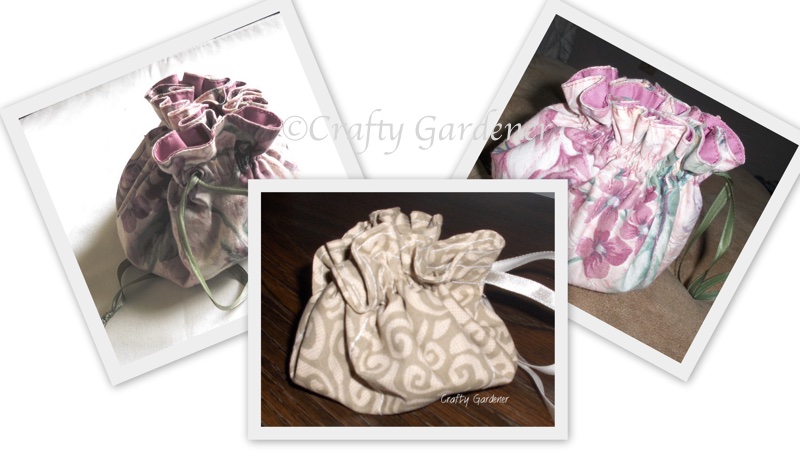
The steps below show you how to make one yourself. The first photos are of the test pouch I made to see how it turned out and what I needed to tweak.
You need 2 different sized circles of material. I used my large dinner plate and my sandwich plate as tracers. The inner circle must be smaller than the outer circle. Cut 2 circles of each size using pinking shears for less fraying. For my test pouch I used the same material on both sides.
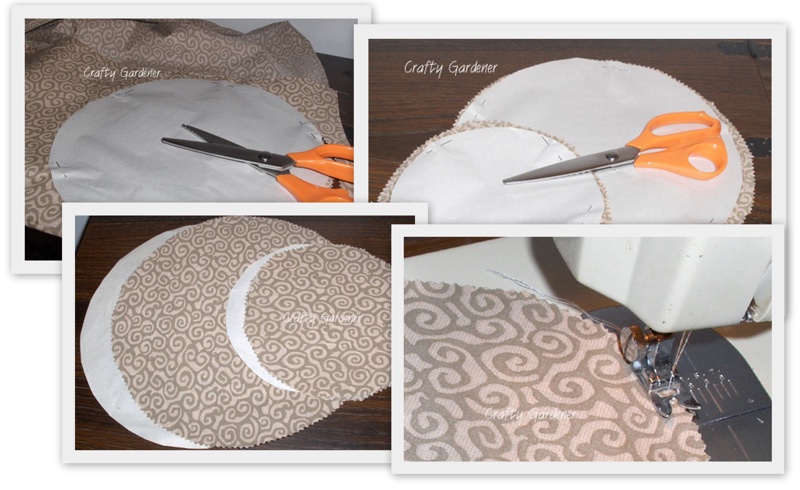
On one of the large circles you need to make a buttonhole about 2.5 cm. (1 inch) from the edge. This step has to be done first else you will have to hand stitch an opening
With right sides together sew around the outside. Leave a small opening so that you can turn the circles so the right side of the material is showing. Turn so the pinked edges are inside, press and then top stitch around the edge. Do this with both sizes of fabric circles
On the larger circles you need to sew 2 rows of stitches which makes a pocket for the ribbon to slot through. The buttonhole you first made must be between these 2 rows of stitching.
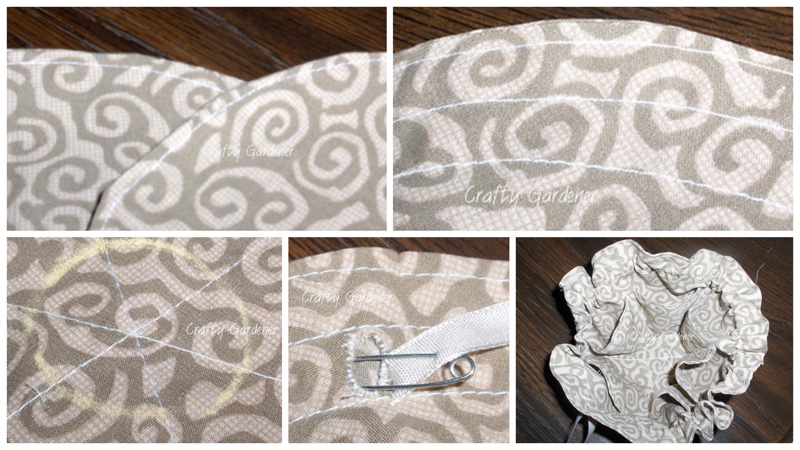
Place the two circles on top of each other with the centers lined up. I drew a small chalk circle to sew around to fasten them together.
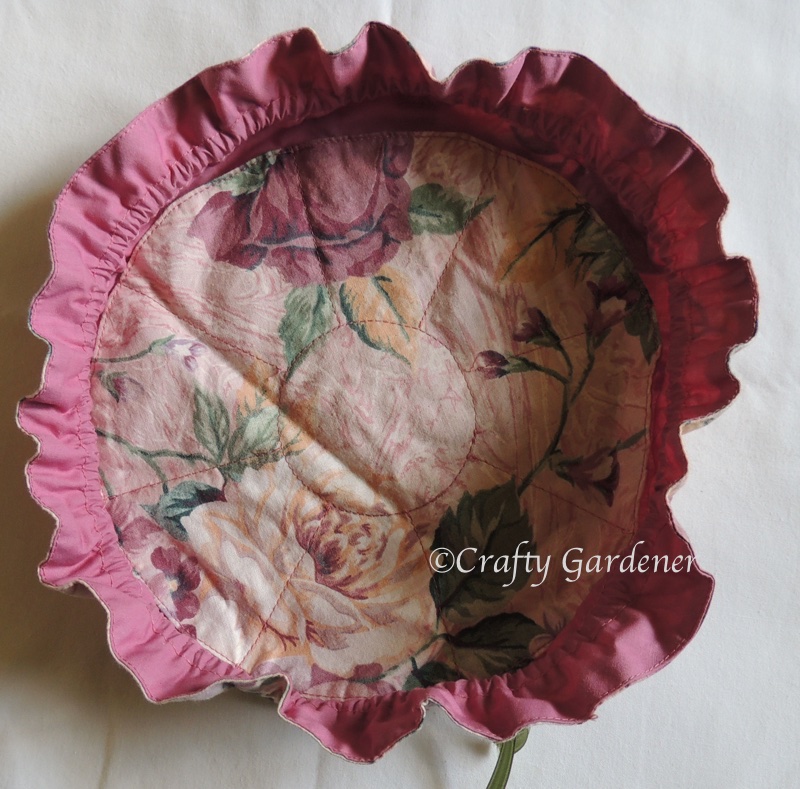
Divide the smaller circle into 8 pieces and mark with chalk. Then sew from the outside edge of the small circle to the inner circle you just sewed. It rather looks like a pie being cut into 8 equal pieces when finished. If you want bigger pouches inside you could just divide it into 6 pieces. The above photo shows the inner little circle of stitching that holds it together and the straight stitching out from the circle to the edge of the smaller circle. This fabric is the second pouch I made using a floral pattern for one side of each circle and a plain pice of fabric for the other side. On my test pouch I sewed the lines right through the centre but opted to stop at the inner circle on the second one I made.
Thread some ribbon through the buttonhole, around the large circle and out the buttonhole again. Stitch the ends of the ribbon together or knot the ends together.
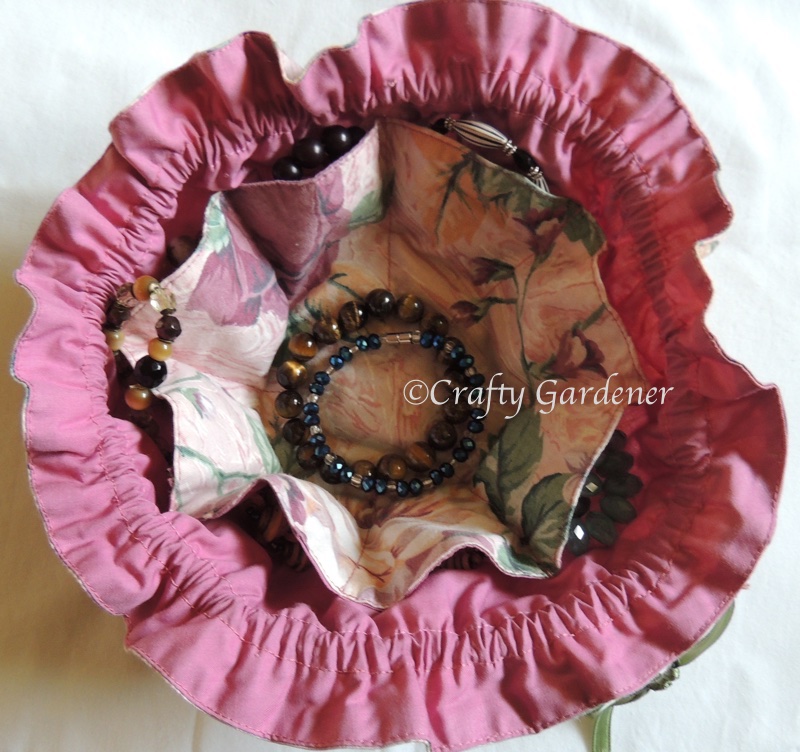
Another photo of the inside of the pouch shows some bracelets in each of the little pouches and a couple on the inside. You can pop in watches, rings, necklaces, and other little things you don’t want to get lost.
Pull the ribbon to close up the pouch.
When closed they easily pop into your suitcase or travel bag.
I’m not the best at writing down patterns but if you search jewelry pouch you will find all sorts of patterns out there. I found mine here.
![]()
More from the Crafty Side