Tipsy Pots – How do you do that?
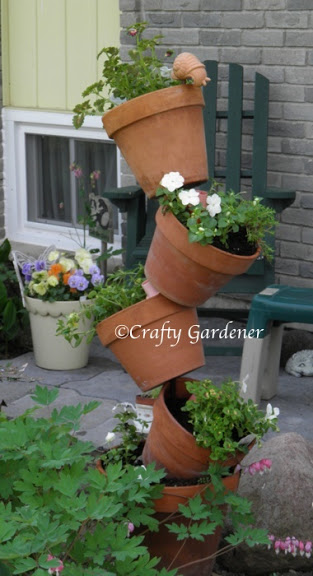
Lots of visitors to the house ask this question. I’d like them all to think I’m a genius at stacking the pots but there is an invisible secret. I’d also like to tell them it is my idea, but it isn’t. It is found on many garden sites and blogs.
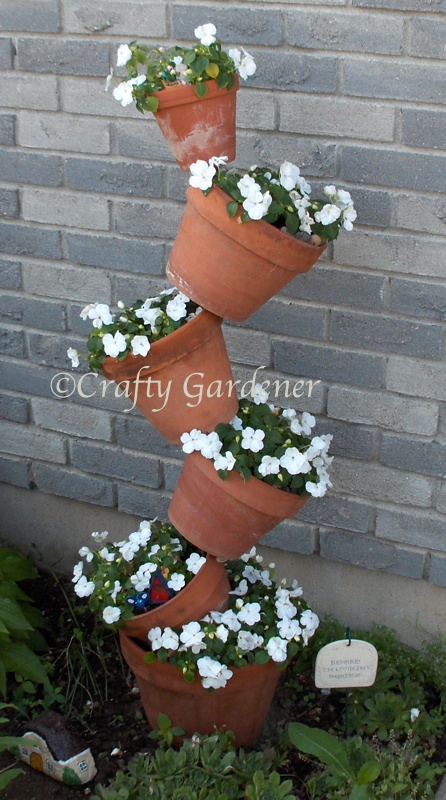
The secret is the piece of rebar, or a long metal rod that can be pushed into the ground at least 30 cm. to 45 cm. Slot the first pot over the rod (through the center hole) and down to the bottom, fill with dirt, and then slot another pot over the rod and down to rest on the first one and fill with dirt.
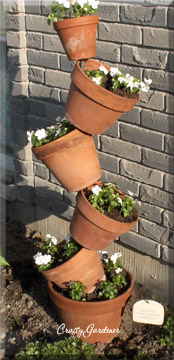
Here is how it looked before the impatiens filled out. One year I had hens and chicks planted in the tipsy pots.
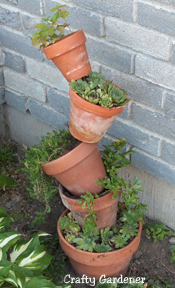
Continue adding pots one at a time and balance each one on the edge of the previous pot. Adjust the amount of “tipsy” you want for each pot as you add them. You can add as many pots as you wish depending on the size of the rod you have.
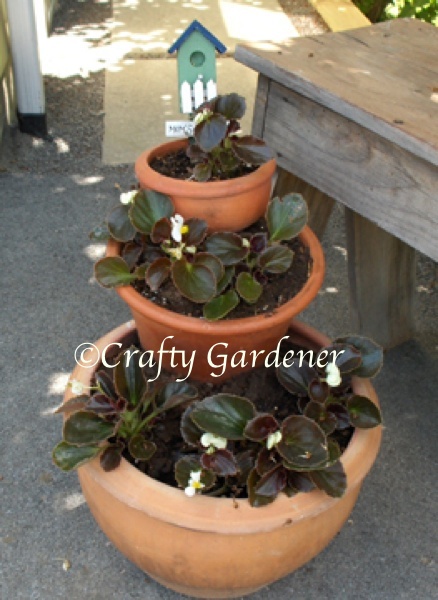
Use your imagination and try different types of pots or containers. You’ll be surprised how creative you can be. For this tipsy I used a wooden dowel pushed in the side of the larger pot. Then I added a couple more pots on top. It sat in a shady part of the garden potted up with begonias.
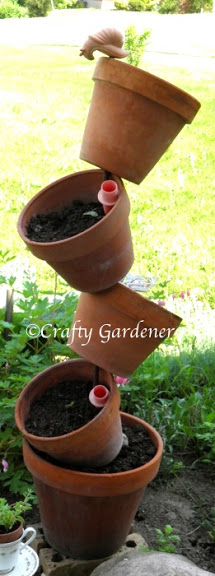
When watering tipsy pots you need to be carefull. Pouring a lot of water will just cause it to spill over the front edge. I’ve successfully used some watering spikes pushed all the way in. Then carefully fill each spike with water and you should have no problems with the water running over the edge. I also don’t fill the dirt right to the rim of the pot. And when I level it out, I level it with the ground and not the pot.
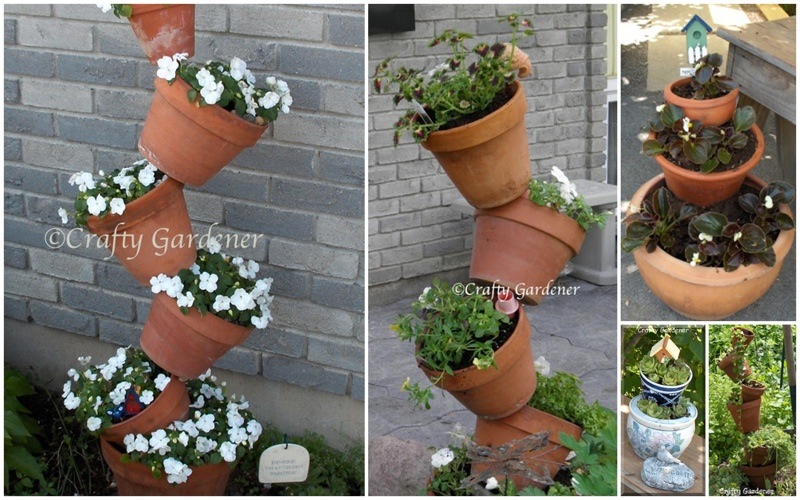
I’ve used a variety of plants … from hens and chicks, to trailing plants to impatience to to begonias to petunias. Each type of plant gives the tipsy its own character. Last year I used some trailing coleus, some impatiens, some million bells and some trailing sedum. I’m not sure what will go in the pots for 2013 as there is a fungus in the impatiens so I don’t know if they will be readily available at the garden centers this year.
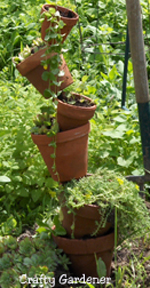
In my part of Ontario, Canada I have to take my tipsy pots apart and store them in the garage for the winter. I use clay pots and they easily crack and deteriorate with the freeze and thaw cycle over the winter. I just made some out of old buckets and they can stay outside all year round.
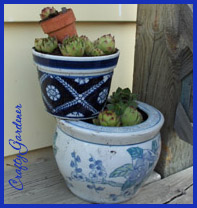
I made a small tipsy out of 2 ceramic pots by poking a dowel through the top pot and down into the bottom one (which didn’t have a drainage hole). To cover up the top of the dowel I added a tiny clay pot and planted them all with hens & chicks.
Have fun being creative.

Lots of garden whimsy.

